This blog describes in words and pictures the building of a Paul Gartside designed fantail launch. There are a number of fantail launches of various sizes on the Paul Gartside website at http://store.gartsideboats.com/collections/steam-launches.

My boat will look like his 20 foot steam launch but will be 18 feet long and will be powered by a small diesel or petrol engine or possibly an electric motor. I have built a rowing boat, one and a half sailing boats and a small canoe and so this will be something different.

If you would like to contact me please click to send me an email.

Monday, 11 January 2016

Second Layer Complete

Put the last of the strips in the second (middle) layer this morning. Traditionally this 3 layer cold molding has the diagonal strips in the first 2 layers and the outside (3rd) layer is longitudinal. This is because it looks better in a clear finished boat. I'm no longer sure why I chose to put the middle layer longitudinally but I am glad that I did because it is much easier to get a tidy pattern with the diagonal strips. Also, they are shorter and easier to handle.

The first side of longitudinal strips was a learning exercise; it doesn't look very tidy! The second side is better but still not very good. The appearance is irrelevant of course because it will be covered by the next layer and I know that this will look OK. Even there the appearance is only important to me because it, it turn, will be covered by one or two layers of fibre glass cloth and many layers of paint!

The thing about longitudinal strips is that the shape to be covered is maybe twice as wide in the middle as it is at the ends so the strips need to be tapered for it to look pretty. This leads to a lot of waste material and is perhaps why the recipes for calculating the material needed add a 25% allowance for wastage. Here is a picture of most of the "waste" material after my 2 layers are complete.


As you can see there are not many usable pieces there. The third diagonal layer will have a larger wastage because I will only use complete strips without any butt joints.

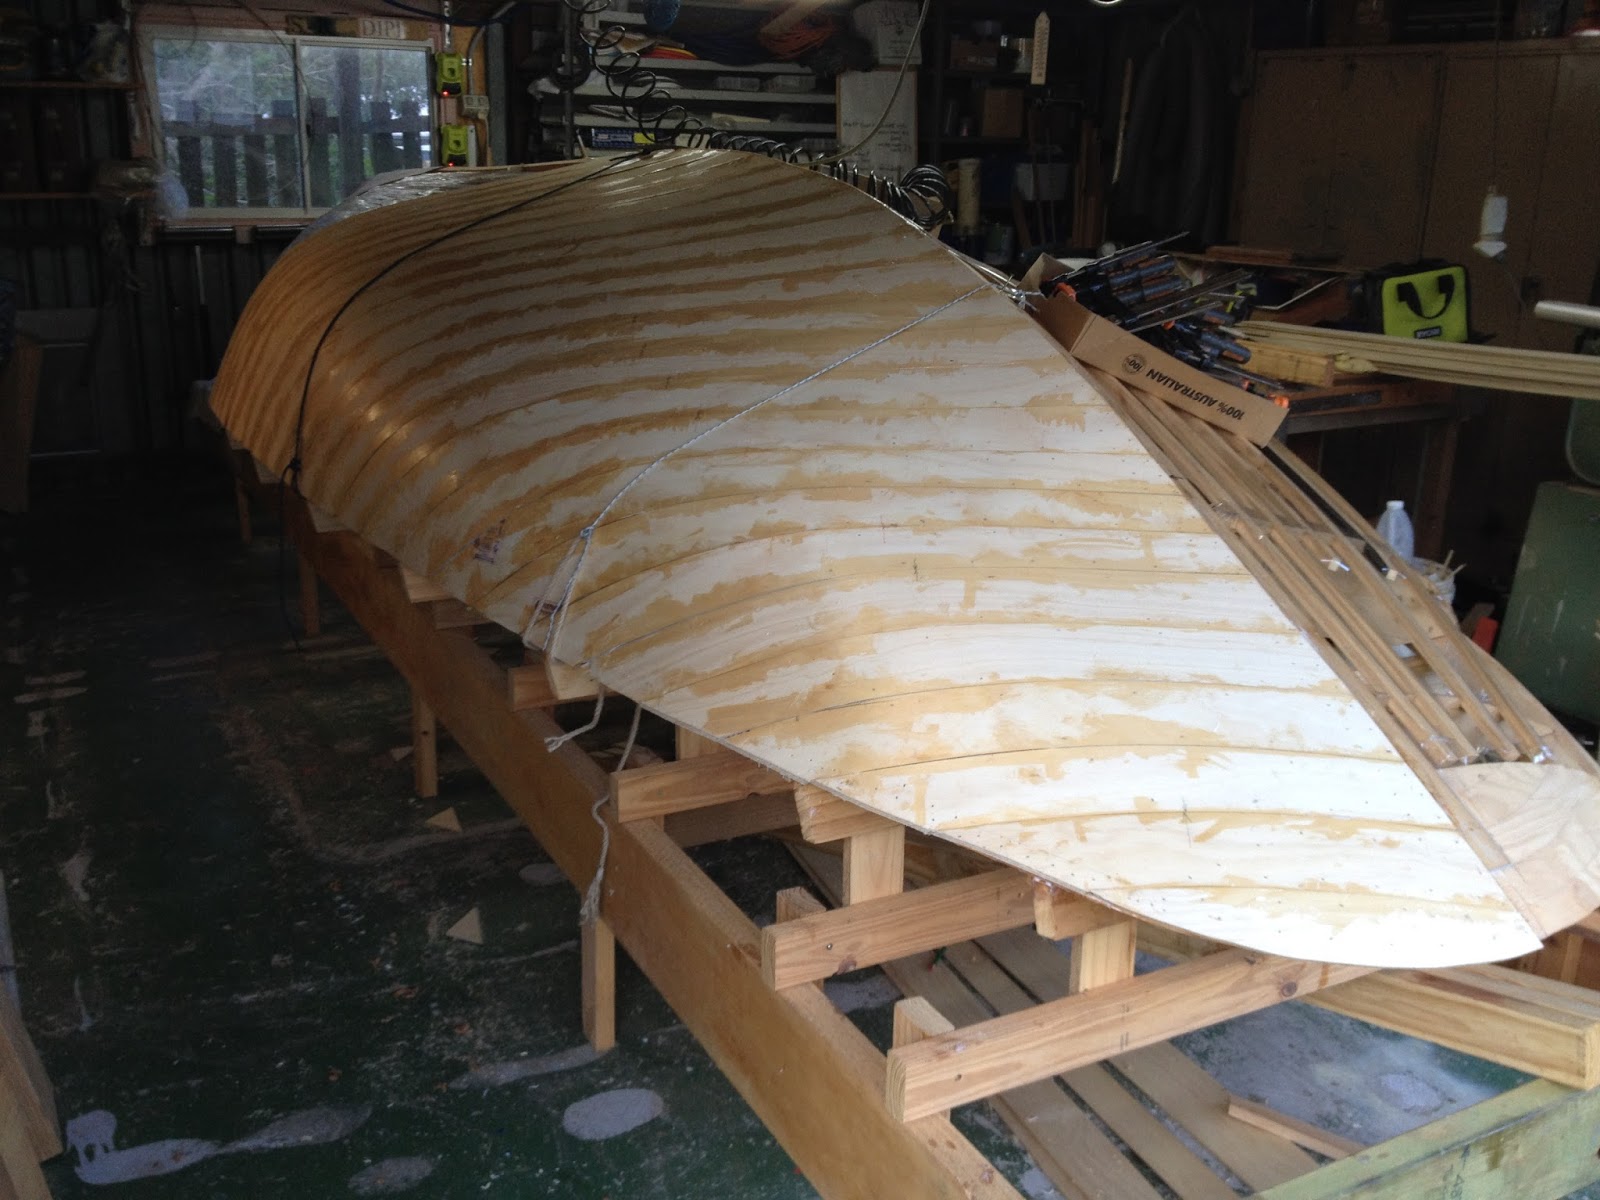
Here's a photo of the stern where you can see the different patterns as the strips run out. The starboard (left hand because it is upside down) is tidier but...... There are strips tapering out along the keel (at both ends) and along the "great circle" but the strips along the sheer are neater and don't have as much twist in them.


For all the boats I have built I have used plastic drink glasses to mix epoxy because they are cheap, maybe 10c each depending where you shop, and I use them once and toss the in the bin. I have used 100s of them, maybe even a few thousand, and never though twice about it. With this cold moulding I was using them at a much greater rate and made a discovery. If you let the epoxy go off overnight it is easy to remove and the cup can be recycled. Let the epoxy harden, squeeze the cup and put out the epoxy leaving a clean cup. Here they are with epoxy in them.


And here they are ready to go round again. I am getting about 5 or 6 uses before the plastic splits and they have to be binned. Just think of the money I am saving by building this boat!


Next steps are to scrape off the excess epoxy and sand the whole hull. I started the scraping this afternoon but my hot air gun gave out a big flash and became a cold air gun. Hmmm, I wonder if it is still under warranty?

I also need more plywood and can't get this until the mill goes back to work and makes some more 5mm ply. They are still on an extended Christmas holiday so there is going to be an extended delay.

Saturday, 2 January 2016

Second Layer Started

I'm putting the second layer of strips on. My intention was to put these on vertically because I thought the shorter strips would be easier to handle than the longer horizontal ones, I now know that I was right, the long strips are more difficult in all sorts of small ways. What I found out when I tried the first vertical strip is that they don't want to bend around the sharper curves on the bilges so they have to go on horizontally.

I started with the first 100mm strip just above the sharp curve of the bilge and worked towards the keel from  it. As the strips approached the keel I saw that the 100mm wide strips would not fit nicely in the hollow section closer to the keel so had to switch to 50mm wide strips. This left me with a 75mm wide strip along the keel.

I found that the narrower strips are quicker to apply; they reduce the amount of spiling and fitting because they will bend sideways to some small extent and they need less glue so the mixing and applying doesn't take as long.

Here is a photo of the bow section.It takes two and a bit 2.4m long strips to go from end to end so I'm using up the offcuts from the first layer. Simple butt joints between the strips will be lost when the third layer of strips goes on. The challenge in putting these strips on is to make sure there is thickened epoxy filling any spaces between the layers. The only way I can see of doing this is to put plenty on so it squeezes out when the strip is nailed in place. then the excess can be scraped off and, if I can work quickly enough, used on the next plank before it goes off. Where the narrower strips come to the stem the twist makes for a gap 10mm to 12mm between the strips. I decided to fill these tapering gaps with offcuts of ply rather than spiling and fitting the strips. This is quicker and less wasteful than shaping the strips. The ply "buttons and black plastic are holding one of these filler pieces in place.


Here is the stern end. I knew there were hollow sections in the first layer and the coloured patches are epoxy bog filling them up. The hollows are there because there were not enough ribbands to support the strips in this area where the strips have a lot of twist. There were not enough ribbands because I had decided  during the lofting to notch the ribbands into the frames. This was a mistake, I should have drawn the frames smaller to allow the ribbands to be fixed to them without the notches. Next time I will not fall into this trap!

More of the offcuts from the first layer are visible in this photo. I have a lot of these and will use them up in this second layer of strips.


Another view of the stern shows the first of the 50mm strips coming onto the sharper curve of the bilge. There will still be ridges where the strips join but they will not be as pronounced as with the 100mm strips and will sand away. Also visible are some of the ridges in the first layer that have been sanded away showing the glue between the plies and some of the middle layer. These were amongst the first strips I put on and as my spiling and fitting technique improves there were less of these ridges to sand away.


Monday, 28 December 2015

First Layer of Strips Complete

I put the last of the first layer of strips on yesterday. Here are a couple of photos of the bow of the boat. The angle isn't good because I have to stand on a box outside the shed and take the photo through the window. The result is that the photos are foreshortened.


Next job is to clean off the glue and sand the hull "flat" to remove the ridges where the strips didn't quite line up nicely. Also to fill in the small hollows, 2 on each side at the stern and 1 each side at the bow. I could just put strips over the hollows and fill the space with glue but I feel happier with this  two stage process.

Wednesday, 23 December 2015

Taking Shape

Reached another small milestone today when I put the last plank, in the first layer, on the stern. It is beginning to take shape and starting to look like a fantail launch. Three photos give some idea of the shape.


From some angles it looks as if there are some hills and hollows that shouldn't be there. I need to check by bending a fairing batten over the hull but the thought of doing that makes me a bit nervous! What do I do about them if they are there?


Thursday, 17 December 2015

A Milestone!

Here are a couple of photos showing where the planking is up to. I put the last couple of planks on the stern, starboard side, this morning. Moved the tools round to the port side ready for the next few days work. Remember that the boat is upside down so you have to be careful about which is port and starboard!


Monday, 14 December 2015

Fitted Some Planks

A couple of weeks have passed since the last post and progress has been slow. Faced with the need to cut a lot of 100mm wide plywood strips I went looking for a small (tiny) circular saw with a fence. I found one with an 85mm diameter blade made by Worx. Here it is:


The saw part is quite good, light and easy to hold and the blade is narrow so less sawdust. The guide is a piece of crap! The black plastic guide is original, very narrow and difficult to keep against the edge of the sheet of ply. I added a pice of aluminium angle and this was a big improvement and showed up the next flaw - the guide is not parallel to the blade. There is no adjustment so I had to insert shims in various places to get the guide lined up. Now it works reasonably well.

While I was looking for the above I found and bought this device. I already had Ryobi batteries and chargers so the saw wasn't very expensive. It is hardly a boat building tool but it does an amazing job of pruning in the garden. I have a huge hedge to cut down and this saw makes the job so much easier.


Here's the set up for ripping the sheets into strips. The sheet is laid flat on a couple of trestles with a pair of 2x4s to support it. The first strips are easy to cut but the last 2 are a bit fiddly because the 2 clamps have to be moved to allow the saw to pass.


I ripped up 3 sheets of ply into 36 strips; this is probably enough to put one layer over about 2/3 of the hull. The two 2x4s on the bench are a  "vice" to hold the strips vertical so I can plane the edges. One of the 2x4s is clamped to the bench and in use the ply strip is clamped between them.


Fixing the first few planks involved me in a steep learning curve. Each plank has to be fitted to its neighbour that is already in place. To do this it has to be clamped in place leaving a minimal gap and a line drawn on it parallel to the neighbour's edge. It is unclamped and trimmed to the line and then test fitted. It is very important that the plank lies flat on the mould while these steps are being done. If it isn't flat there is a twist in it and it will not fit nicely against the neighbour. Don't ask me how I know this!


I covered the mould with clear 50mm wide packaging tape so the planks would not be glued accidentaly to the frame. Having done that I raided the kitchen and covered the whole thing with cling film. This was a mistake because I had to cut through the film to clamp the planks in place while fitting them. I have removed the film from the areas I am working one.

This next photo shows the planking going on the other side of the boat. The nearest plank with the clamps is being marked along the edge to fit its neighbour; this process is called "spiling".


By this stage I have fitted 6 or 7 planks to both sides of the hull and have established a routine. Clamp, spile, unclamp, trim edge, test fit with clamps, trim if necessary, mix epoxy, prime all surfaces to be glued including the long edges which is a pain, thicken epoxy, apply thickened epoxy to one of all mating surfaces, put plank in place and nail to mould starting at the keel, add a clamp at the gunwale, clean up excess epoxy and make sure the joint between the planks is full of glue. This takes about 45 minutes.

By this stage I am using longer (16mm) plastic nails because the original 12mm ones didn't hold reliably where the curve was pronounced on the bilges. The clamp on the gunwale probably isn't necessary but I have to put it on to hold the plank while I am putting the last few nails in.


Wednesday, 2 December 2015

New Tool In The Shed

After a long discussion about what I was proposing to do the Australian agent for Raptor polymer nails, brads and staples suggested that their 12mm (actually 1/2") long 15G nails would do the job. I was a bit sceptical because there would only be 7mm of nail holding the 5mm ply in place. He was confident enough to send me the gun without payment and for me to return it if it didn't work!

Here is the new tool before firing the first nail. It is a nice piece of work made in Italy.


Some testing on the bench showed that I needed to back off the depth control on the gun as far as it would go so that the nails weren't punched almost through the plywood. Once that was done I went back to testing on the boat. The next two photos show a couple of strips in place with the heads still below the surface. In the nearer strip I put in two nails but in the second strip there is only one except at the bottom where I put in two (the first three missed the frame!).


There's a gap between the two strips because they are parallel. When they are fitted finally the second strip   has to be trimmed to fit the one that it buts up against.

At this point I turned down the air pressure at the regulator and found that I can control the depth reasonably well. The heads can be buried a bit on the first two layers of ply because the depressions will get filled with epoxy. In the third layer the depressions would be a pain - they would need filling or the hull would be covered in dimples.

The frame is pine and pretty soft so I wondered what would happen with the second and third layers of ply where the nails will encounter more resistance. More testing with scraps of ply and various air pressure gave me this result. Backing off the air pressure a bit left the heads sticking up a bit above the surface. The photo shows three that went in too far and three that have been sanded back.


I'm happy with this result and can now get on with the last jobs on the frame before I pick up the sheets of ply early next week and start building the hull.

I realised that it is probably best not to build the stringers into the hull at this stage. Putting the fibreglass cloth inside the hull will be more difficult if the stringers are in place already. So I will take them out and put them in a safe place ready to be glued on top of the fibreglass - at least they will fit. Once these stringers are removed I will need to put in a couple more ribbands to support the planking at the bilges.

Last job will be to cover the frame with plastic tape so the hull doesn't get glued to the frame where it shouldn't.