This blog describes in words and pictures the building of a Paul Gartside designed fantail launch. There are a number of fantail launches of various sizes on the Paul Gartside website at http://store.gartsideboats.com/collections/steam-launches.

My boat will look like his 20 foot steam launch but will be 18 feet long and will be powered by a small diesel or petrol engine or possibly an electric motor. I have built a rowing boat, one and a half sailing boats and a small canoe and so this will be something different.

If you would like to contact me please click to send me an email.

Friday 23 December 2016

Stern Tube and Steering

A week or so ago I collected the rudder, the rudder bearings and the stern tube from David O'Shea at Speed Propulsion Pty Ltd. David has been very helpful with advice and has done a good job on the parts he supplied. Here is the rudder. He will make up the propeller shaft when I have found a propeller and I am working on this as I write.


I'm debating whether to fix some plywood to the flat steel place and give the rudder and aerofoil section. At low speeds this probably won't make much difference but it might look nicer. Either way I will paint it to match the hull.

The stern tube was put through the oversize hole in the skeg and keel and lined up carefully using temporary supports for a straight steel bar through the tube. With the tube in place the space between it and the woodwork at both ends was packed with thickened epoxy. When this had set unthickened epoxy was poured into the rest of the space around the tube through a funnel until it come up through a riser hole at the highest point of the space.


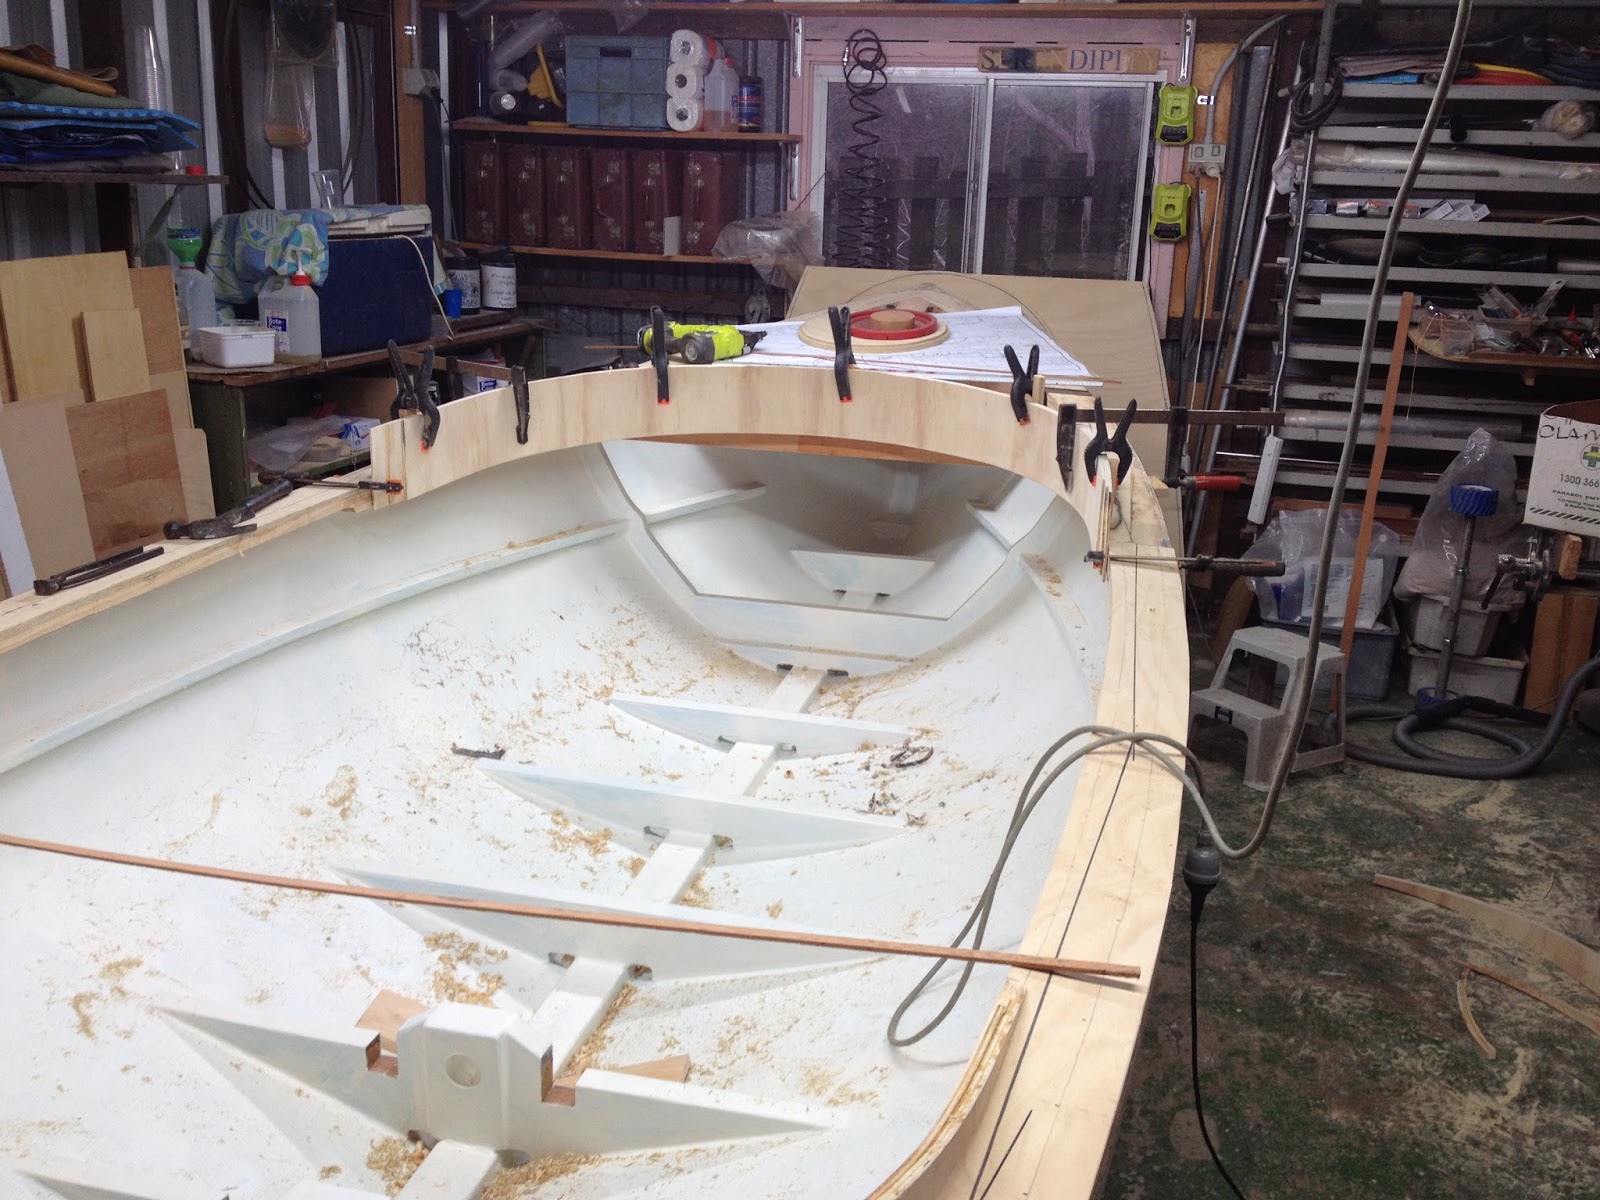
The plan is to use wheel steering with the wheel mounted at the forward end of the cockpit in front of the coaming. I've been making up the parts for this and the arrangement is shown below.


There is a brass axle through nylon bushes in the deck framework. The wheel is at one end and a steering drum is under the foredeck. The steering lines will pass through turning blocks (under the deck shelf) and run under the side decks to a quadrant on the rudder shaft.


The black wheel is just a profile cut from a piece of scrap ply so help me gauge the size of the final wheel. I think the handles need to be slightly longer.

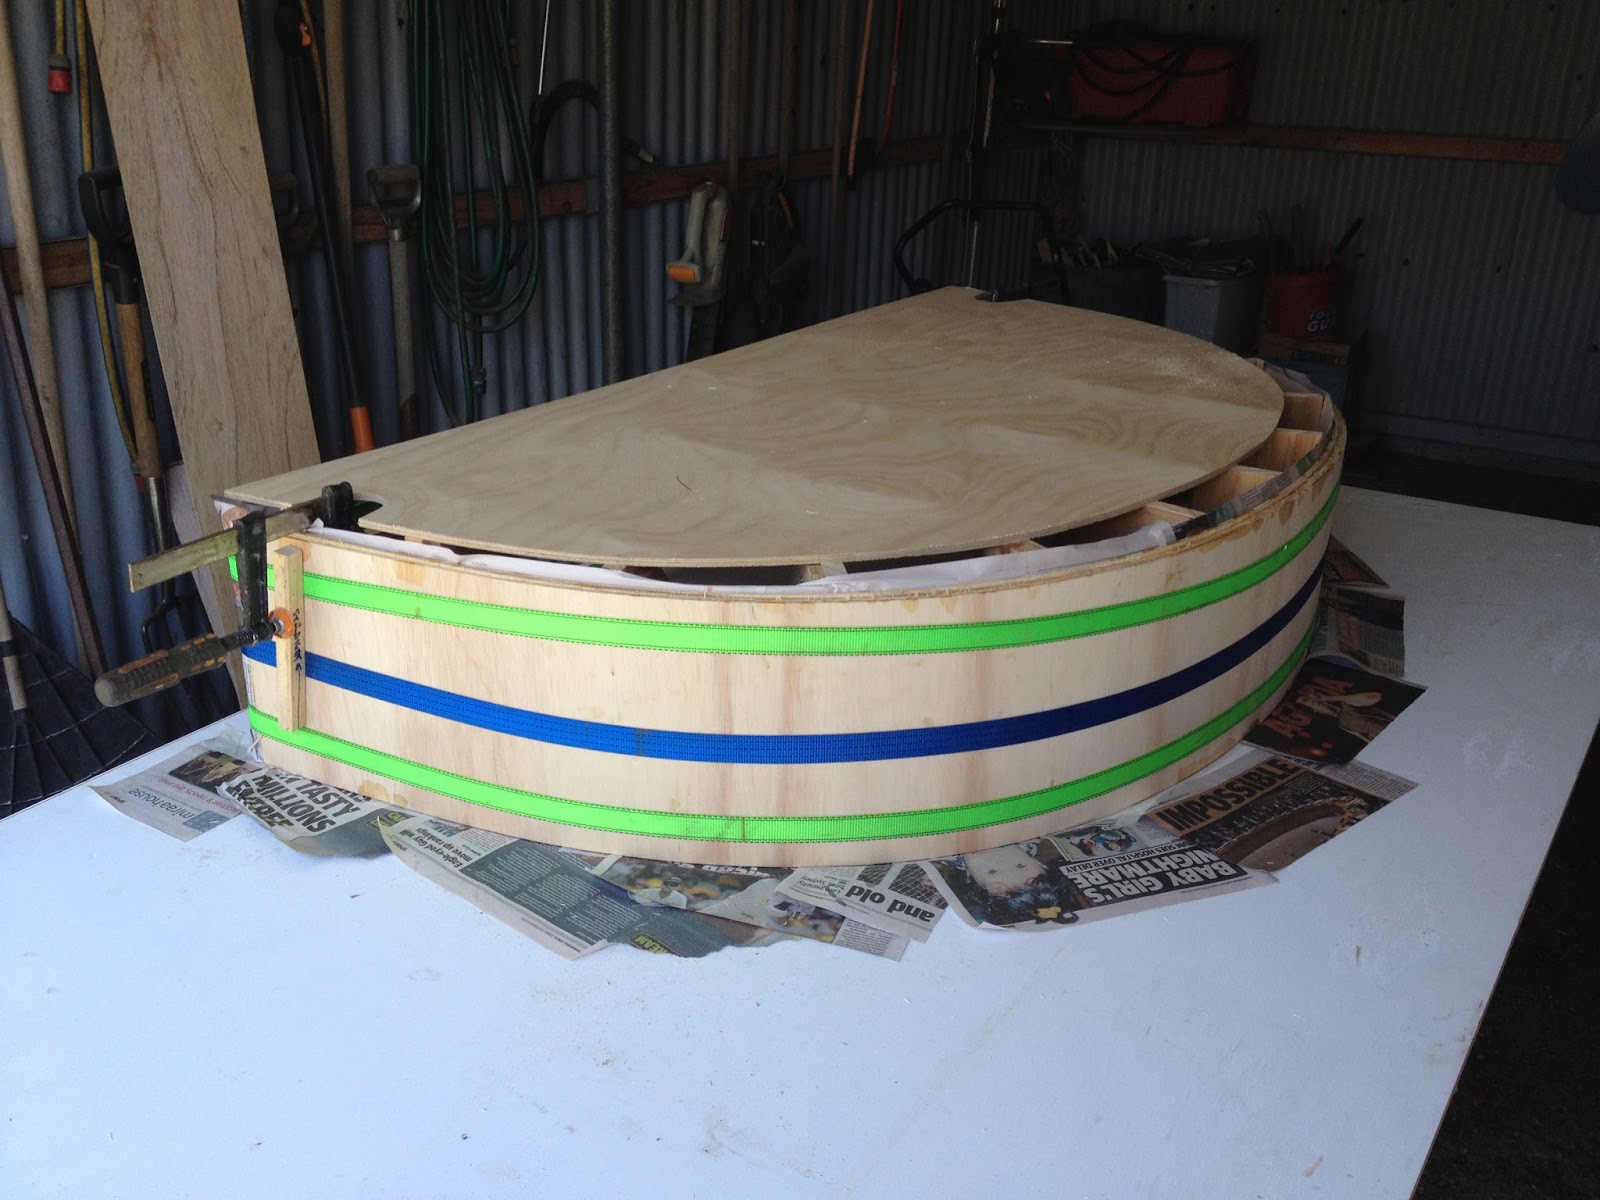
The newspaper was to catch any drips of the walnut wood stain as I applied it to the coaming. There will be a capping strip along the top of the coaming and laminating this will be a challenge!


Cockpit Coaming

Someone mentioned that it is Christmas Day tomorrow - I thought I had noticed some frenzied supermarket shopping and a fat guy with a red outfit! So it seems like a good time for a catch up post or even two!

Because the sheer line rises and the coaming needs to be vertical the laminations needed to be quite wide - I worked out that the forward section needed to be 250mm wide. I made up a light mould for this; it only needs to be light because the bending ply easily takes the shape and the mould only has to withstand the clamping forces. Here are some photos of this process.


The first 2 photos are of the forward coaming clamped up and waiting for the epoxy to go off. The 3rd photo is of the aft coaming ; it is surprisingly stiff now that 3 layers of the bending ply are glued together. The coamings are 15mm thick.

Next step was to glue both coamings in place. A bit tricky holding them in place while clamps were applied. The spring clamps are hold some pieces of scrap timber that sit on the deck to keep the coaming at the right height. The F clamps hold the coaming in place until the glue sets.


With fore and aft coamings in place the 3 laminations of the side sections were laminated in situ. There is a butt joint in each lamination at the end of the side sections and these butt joints are staggered by about 50mm. I didn't like the white timber in the bending ply so I stained the fore and aft sections before I fitted them in place thinking that it would be easier to do the inside face of the coaming below the deck while it was exposed. That was true but.....


With the coaming in place I trimmed to top and bottom edges to follow the sheer line. Then I discovered that I could not match up the stain across the joints in the sections of coaming and also that I didn't really like the cedar colour I had used because it was too red. So it all got sanded off and some darker walnut stain applied.