
The white longitudinal strips are the ribbands. Below them are the two stringers which had to be laminated in situ, each from three strips. Usual messy job, glue everywhere hence the newspaper (the only thing the Brisbane Courier Mail is useful for!).
That's where I left it for just over 3 months while I travelled to Canada and the UK.
Home again and slowly getting back into boat building. The remaining stringers were added and then the whole thing was carefully "faired" so that a batten bent around the mould in any direction just touched everywhere and lay flat on all the surfaces that the hull lies against. Doesn't sound much but it took a several long hot sessions to complete. Here's what it looks like after that.


The next stage needed a bit of trial and error to work out what plywood to use and how to fix it in place while the glue sets. The hull of the boat is made up of 3 layers of 5mm thick plywood cut into strips with the strips in each layer laid in a different direction.
What type of plywood to use and how wide can the strips be is the first question. Most plywood is nominally 4mm or 6mm so what I was after was either thick 4mm or thin 6mm, As I looked around I was astonished at the variation in thickness of ply from different manufacturers. Eventually I found a source of Australian mode hoop pine plywood, exterior grade so it has the same glue bond between the plies as the more expensive "marine" ply and with AC face veneers. Not only that it is available in 5mm sheets! After a struggle I bought a sheet to test; it might be manufactured in Brisbane but the retail outlets don't stock it because there is no demand for 5mm ply.
Here are a couple of photos showing the first and second strips in place by clamps with no glue.
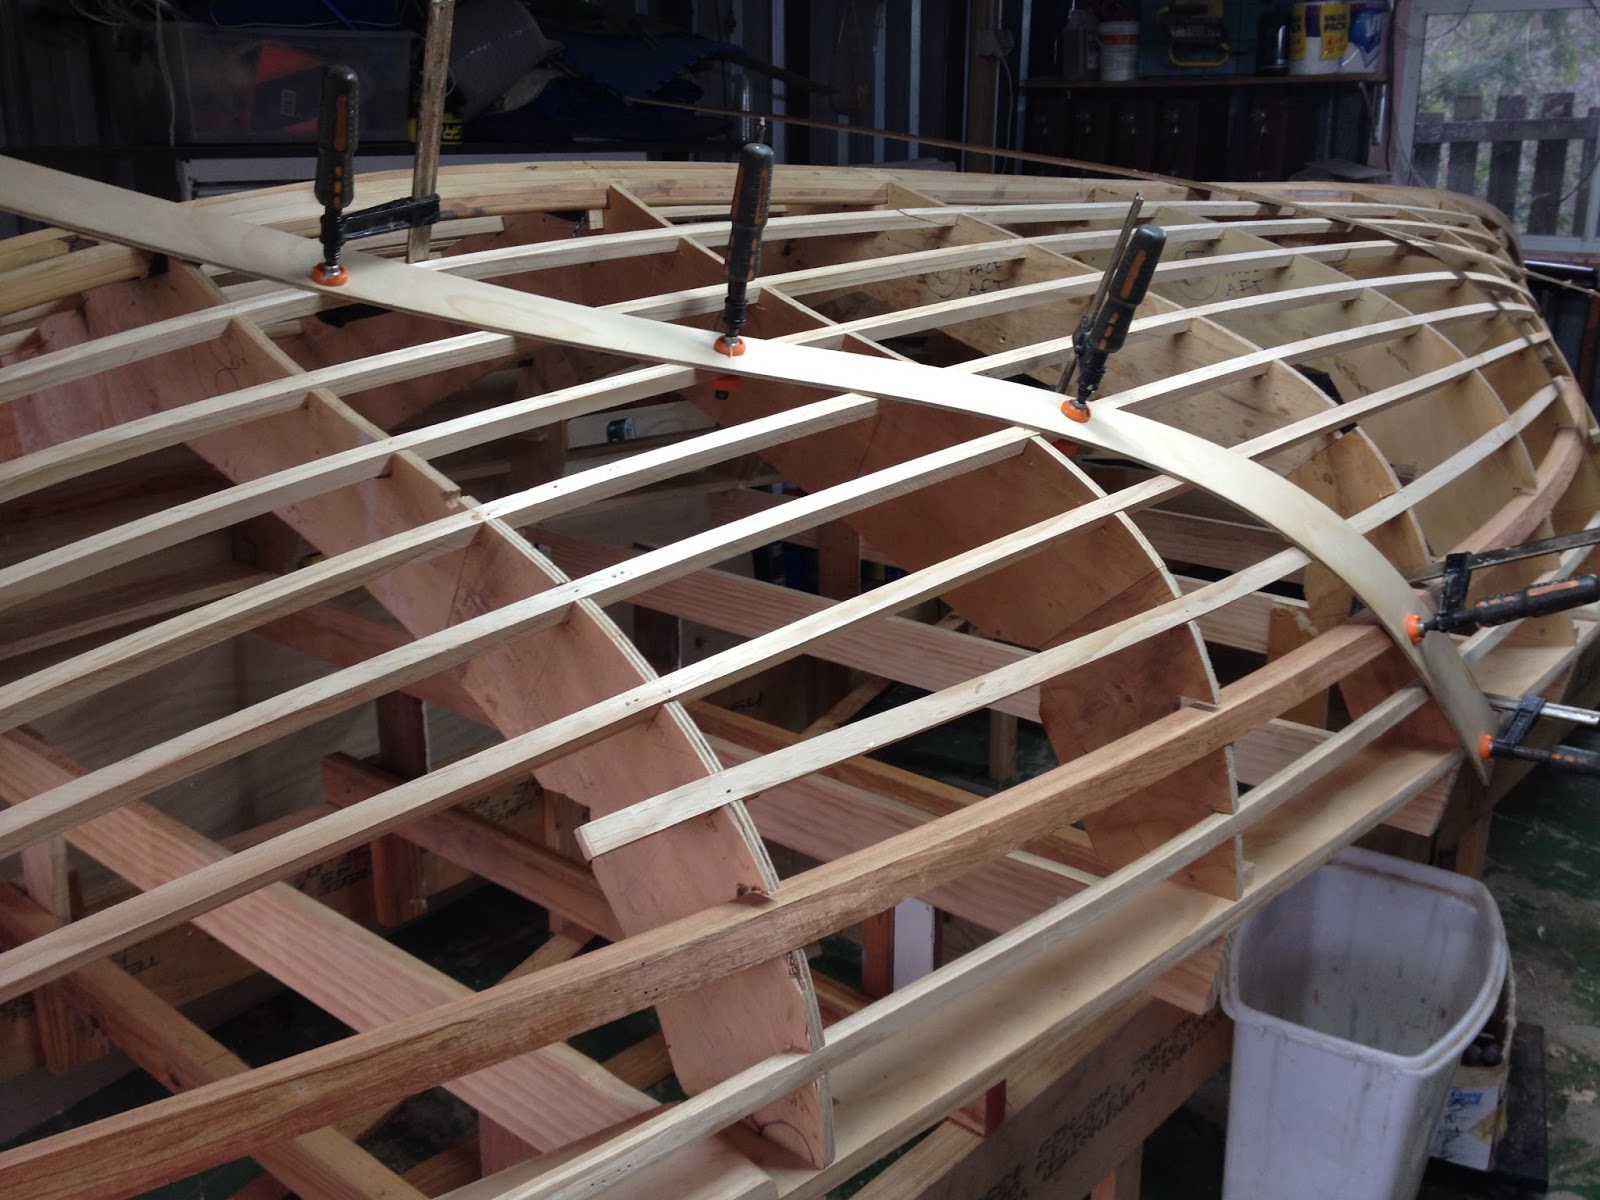

The first strip is 75mm wide because I was concerned that a wider strip would be too difficult to bend around the curve down to the gunwale. The second strip is 125mm wide and, while that did take the bend, it was more of a struggle to get it in place. For this part of the hull I will compromise on 100mm wide strips. Towards the ends wider strips will be a possibility. Obviously, the wider the strips the less work is involved but they have to fit nicely to the shape of the boat.
The next question to answer is how to hold them in place while the glue sets. For the first layer clamping is possible but time consuming; on the second and third layers clamps can't be used so an alternative is needed. One technique is to use steel staples through the strips into whatever is underneath. This is OK but all these staples have to be removed, very labour intensive. Plastic staples have been used and these can be left in place - any parts of the staples that stick out are easily sanded away.
I found a source of plastic staples and a staple gun to insert them and went to check it out (far side of Brisbane so a long drive). Looked OK so bought a gun and staples and went home to try them out. Here is the result.

The majority of the staples did not penetrate the plywood. The few that did didn't have enough leg into the timber underneath to hold. Obviously not going to work so another long drive to return the stapler etc and get a refund.
Now I am looking into using either 18G plastic brads or 15G plastic nails. I have been able to try some of the 18G brads and the results are promising but I'm a bit worried about them being able to hold the strips where the curves are pronounced. The 15G nails are thicker and have a bigger head so will hold better. Sadly, a different gun is needed to insert the different sizes and I don't want to buy 2 expensive tools d if I don't have to.
I'm still working on this issue!