Because the sheer line rises and the coaming needs to be vertical the laminations needed to be quite wide - I worked out that the forward section needed to be 250mm wide. I made up a light mould for this; it only needs to be light because the bending ply easily takes the shape and the mould only has to withstand the clamping forces. Here are some photos of this process.
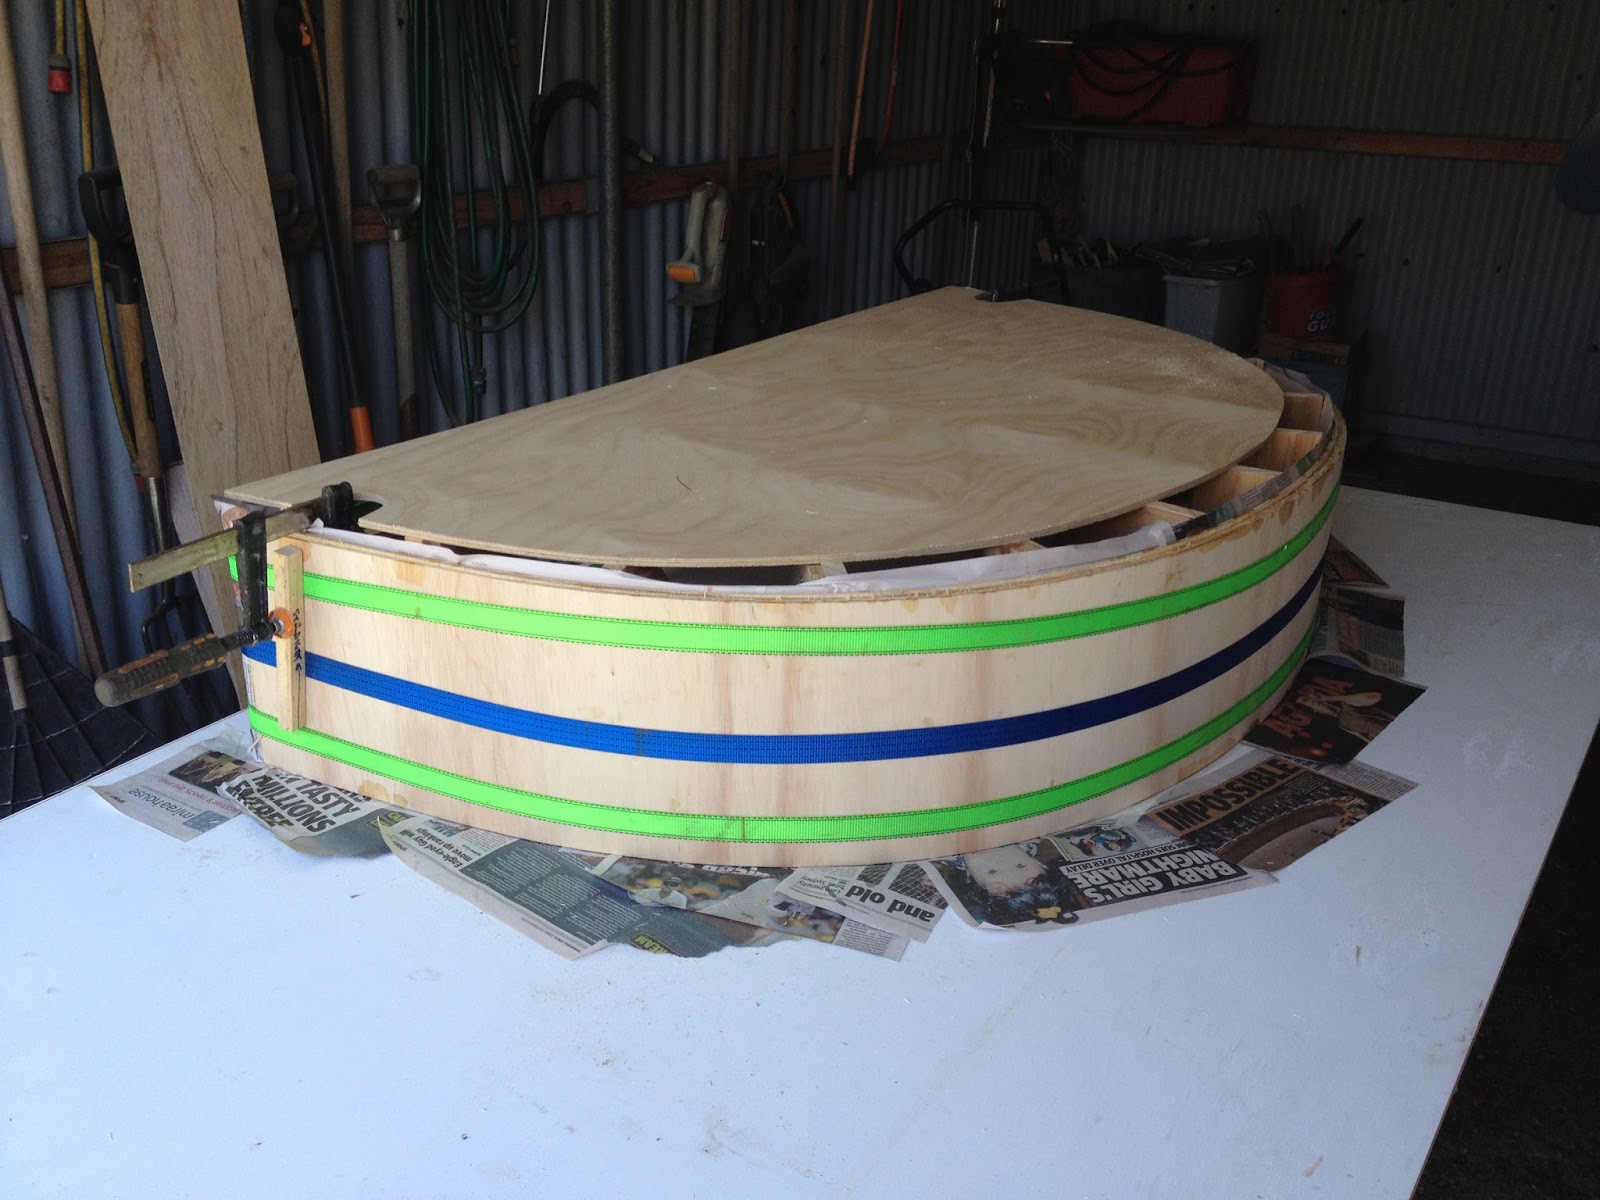


The first 2 photos are of the forward coaming clamped up and waiting for the epoxy to go off. The 3rd photo is of the aft coaming ; it is surprisingly stiff now that 3 layers of the bending ply are glued together. The coamings are 15mm thick.
Next step was to glue both coamings in place. A bit tricky holding them in place while clamps were applied. The spring clamps are hold some pieces of scrap timber that sit on the deck to keep the coaming at the right height. The F clamps hold the coaming in place until the glue sets.
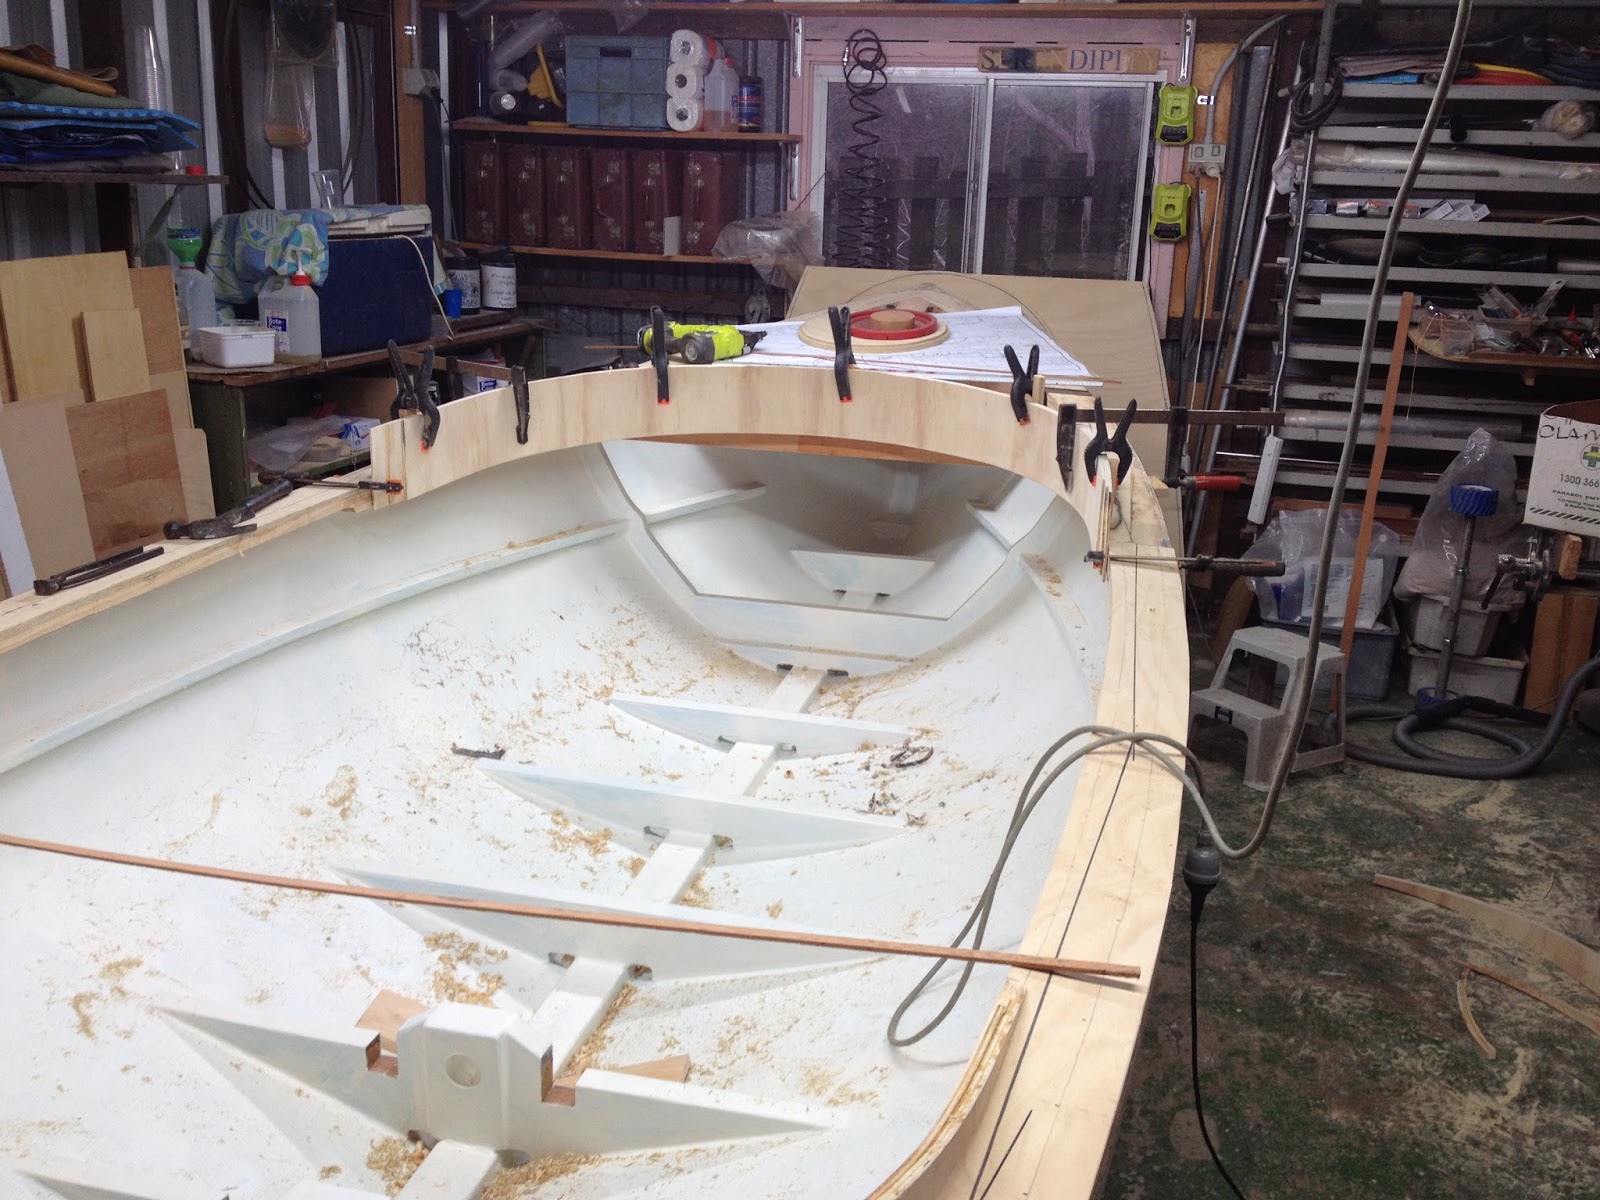
With fore and aft coamings in place the 3 laminations of the side sections were laminated in situ. There is a butt joint in each lamination at the end of the side sections and these butt joints are staggered by about 50mm. I didn't like the white timber in the bending ply so I stained the fore and aft sections before I fitted them in place thinking that it would be easier to do the inside face of the coaming below the deck while it was exposed. That was true but.....

With the coaming in place I trimmed to top and bottom edges to follow the sheer line. Then I discovered that I could not match up the stain across the joints in the sections of coaming and also that I didn't really like the cedar colour I had used because it was too red. So it all got sanded off and some darker walnut stain applied.
No comments:
Post a Comment