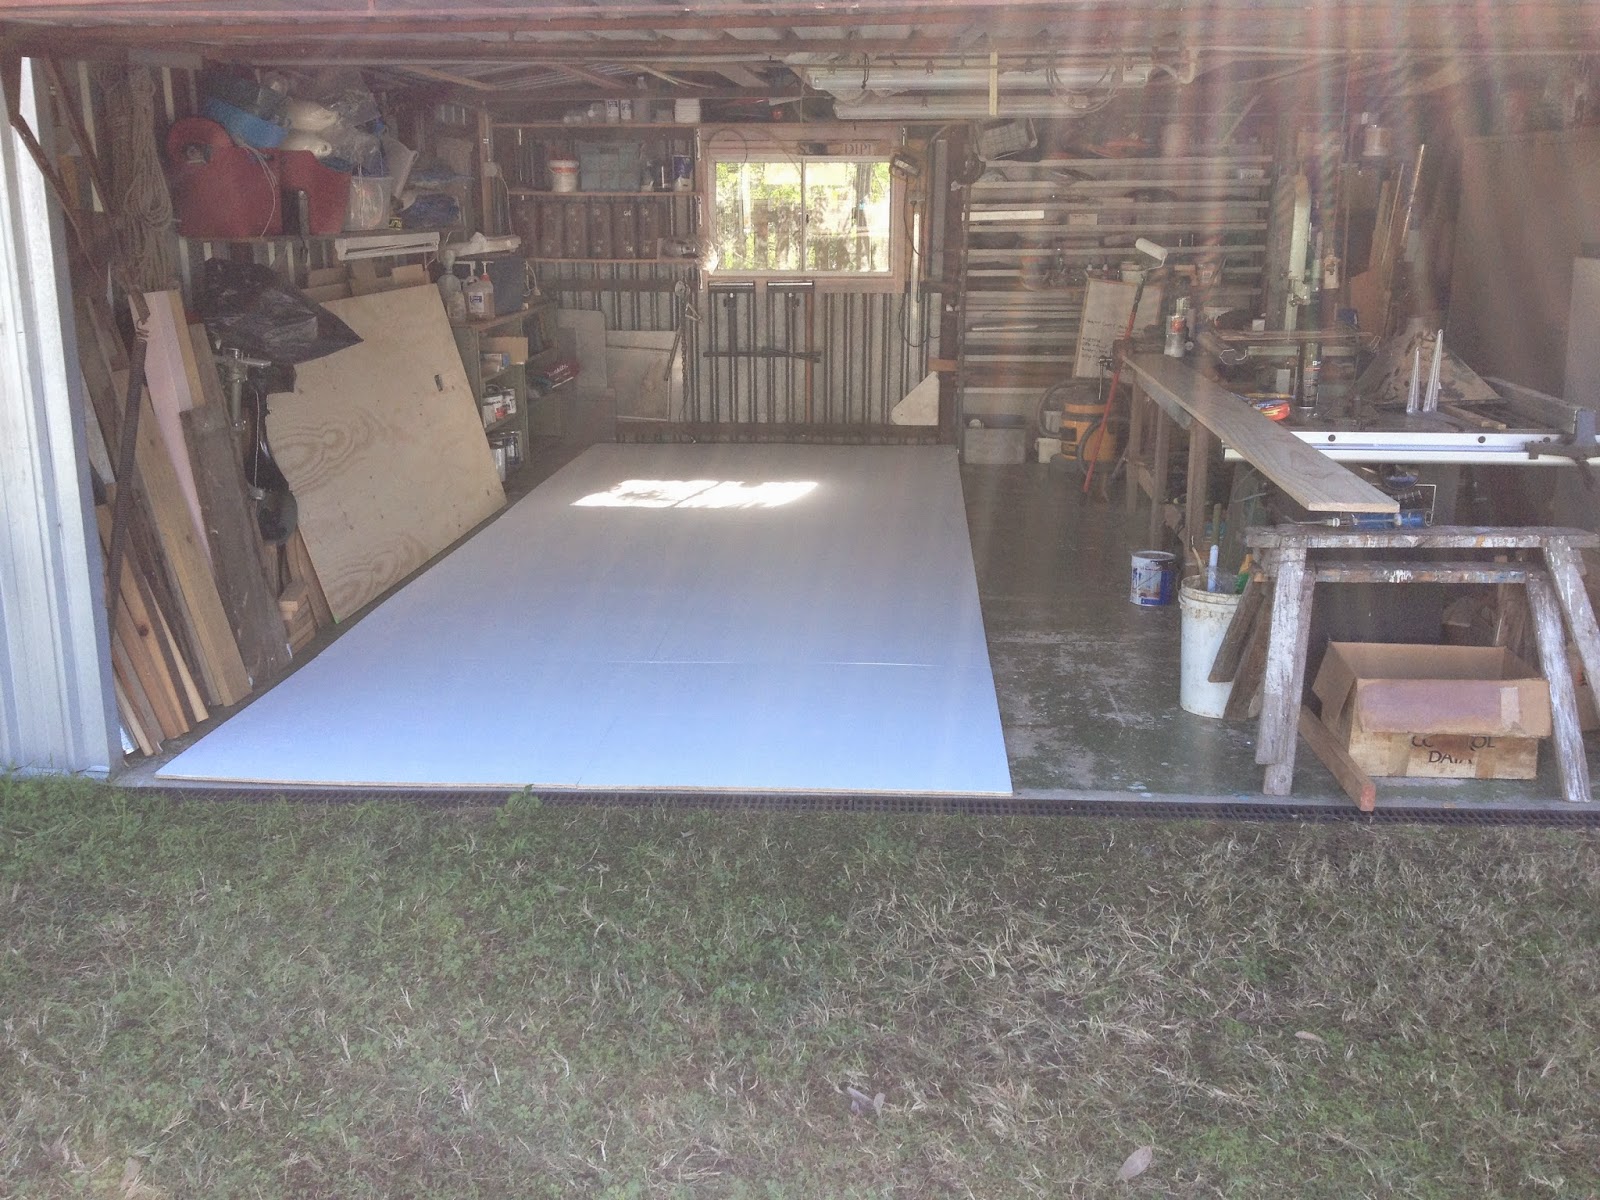
Clearing out the shed and rearranging things to make this much space was a challenge and took a few days to accomplish - it also involved rearranging other parts of the domain and more than filling the wheelie bin with rubbish. Again, not a bad thing. Here's a photo of the space.

Now that's a very scruffy concrete floor that would be difficult to draw on. Also the lofting process involves nailing bits and pieces of wood in place, only temporarily but they need to be fixed. The space is a fraction over 6 metres long and about 3 metres wide. Five 2.4m x 1.2m sheets of ply will make a space 6m x 2.4m. The plywood has to be painted on both sides; white on top so pencils lines will stand out and underneath to help prevent the sheets bending due to uneven take up of moisture. So, 2 coats of paint on the 2nd grade side of the ply and then glue them down to the concrete. Here they are in place; the weights are to hold them down while the glue sets. Not only is the floor scruffy it is pretty uneven and the plywood does a reasonable job of hiding the hills and valleys.

Gluing the sheets down is necessary to prevent them moving about during the lofting. Once the lofting is complete they have to be lifted up so the boat can be built in the same space. They are glued down with some cheap bog which, I hope, will let go when I start lifting them up.
With the plywood down and all the weights put away I swept the plywood and gave it 2 coats of paint. Here it is, the biggest sheet of drawing paper I have ever seen!
I will leave the paint for 2 or 3 days to let it harden, then sand it lightly and then I can start drawing. The pine board resting on the table saw has to be ripped into 19mm square strips to be used as battens during the lofting. Two of these 3m lengths will be scarf joined end to end to make a single batten almost 6m long for drawing the longitudinal lines of the boat. I also need to make up a giant setsquare about 2.1m along the vertical edge and a bar compass for drawing large circular arcs.
No comments:
Post a Comment