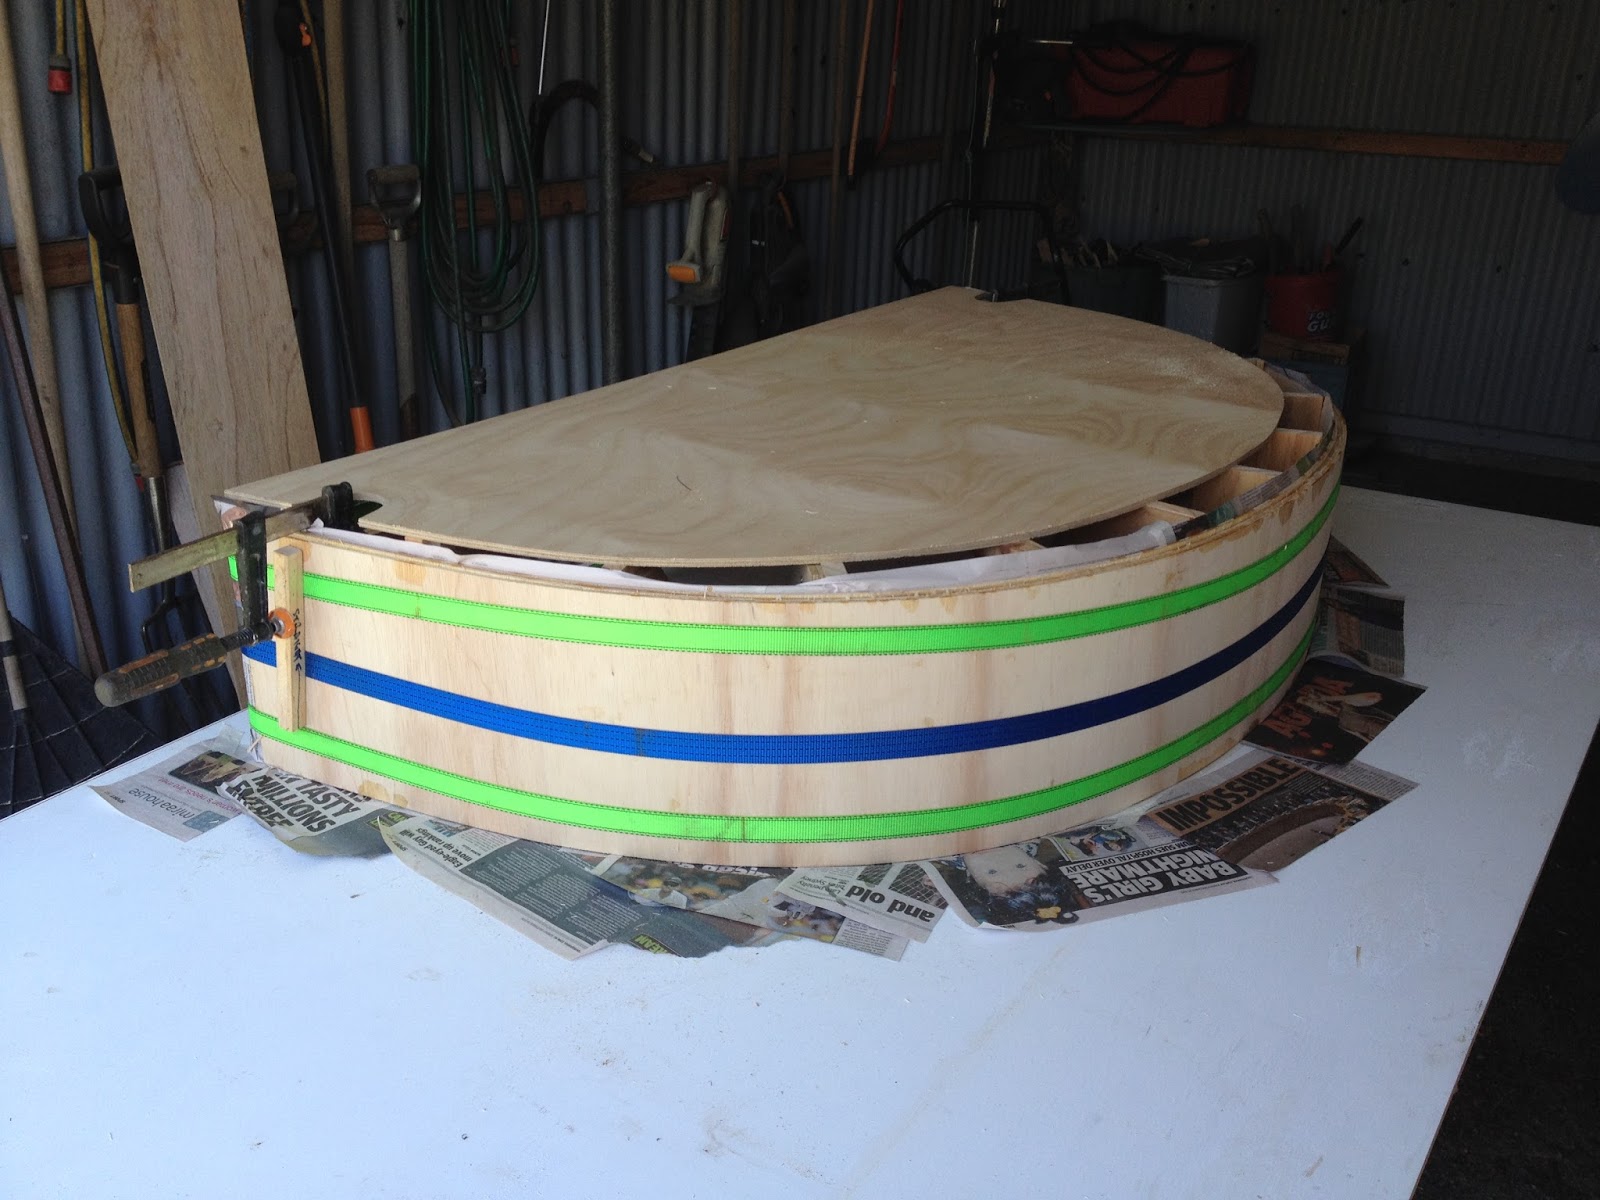
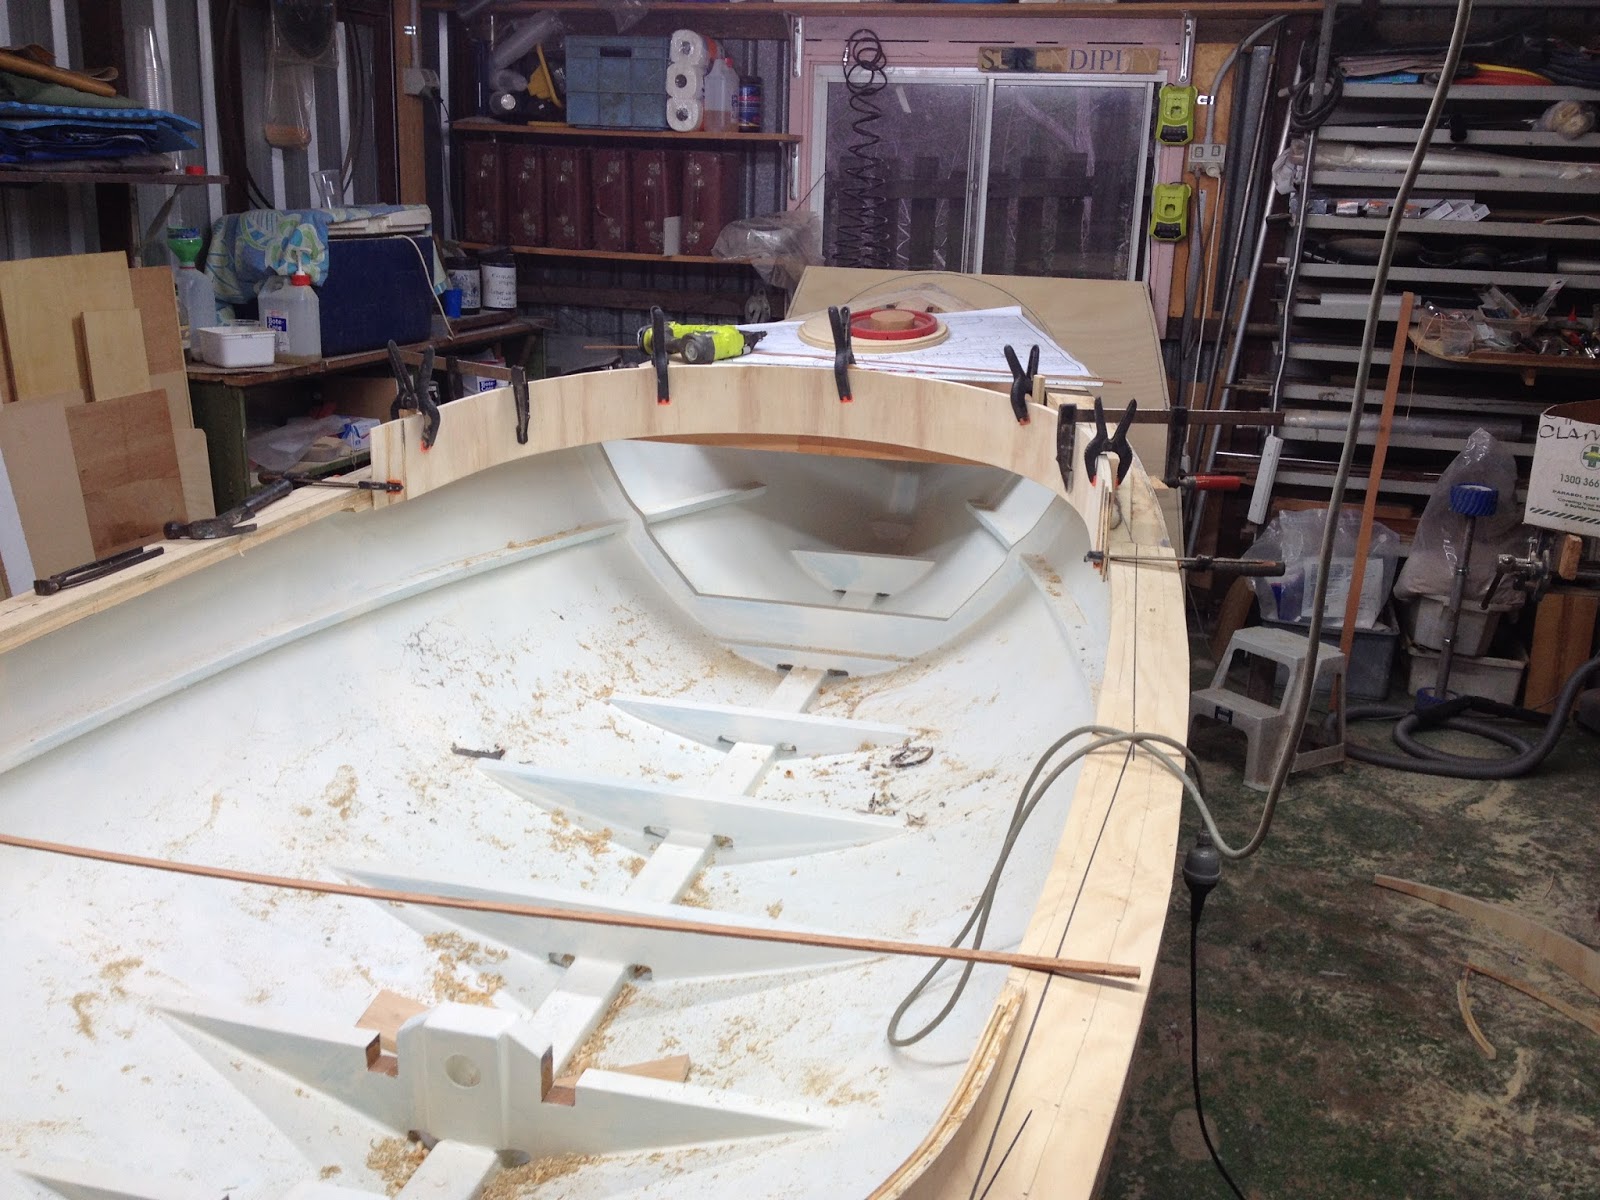
This blog describes in words and pictures the building of a Paul Gartside designed fantail launch. There are a number of fantail launches of various sizes on the Paul Gartside website at http://store.gartsideboats.com/collections/steam-launches.

My boat will look like his 20 foot steam launch but will be 18 feet long and will be powered by a small diesel or petrol engine or possibly an electric motor. I have built a rowing boat, one and a half sailing boats and a small canoe and so this will be something different.

If you would like to contact me please click to send me an email.

Monday, 23 January 2017

Propellor, Etc.

The propellor is a tricky thing to get. The simple solution is to buy a new one - around $600. The problem with this is that you have to specify the diameter and pitch. Diameter is fairly straight forward, as big as possible but allowing sufficient clearance between it and the hull to avoid cavitation problems. This gives me 13 inches diameter as a maximum. The pitch is more difficult because it depends on hull speed, the propellor RPM and a factor called "slip".

Hull speed for a displacement boat can be calculated as factor multiplied by the square root of the waterline length in feet. The factor is somewhere betwwen 1.0 for a barge and 1.4 for a slippery hull shape. Working on a factor of 1.3 and LWL of 15.25 gives a hull speed of 5.1 knots.

The formula that relates boat speed a, propellor pitch and RPM is:

        speed = RPM x pitch x slip / 1215 (1 knot = 1215 inches per minute)

Rearranging this to calculate the pitch:

       pitch = (speed x 1215) / (RPM x slip)

Putting numbers in gives:

      pitch = (5.1 x 1215) / (1000 x 0.4) = 15.5 inches.

I started looking for a secondhand  13 x 15.5 prop and found one on ebay and bought it for $120. This prop is 11.5 x 15, smaller in diameter but close in pitch. I will use this prop to make some test runs and then buy a larger new one with the correct pitch and then sell the first one on ebay.

Here is the propellor and shaft sitting temporarily in the boat.


At the other end of the prop shaft are some bearings and the electric motor. The bearings are visible fore and aft of the two floors. The plywood bracket holding the motor isn't quite the right shape and I will make a new one. The motor will drive the prop shaft with a poly vee belt around two pulleys giving a 4:1 reduction - motor speed 4000 RPM, prop shaft 1000 RPM.


The pulleys are easy enough to make (aluminium and I have a big enough metal turning lathe) and I have found a place that will cut the keyways in them for a reasonable price. I could cut the keyways on my lathe but it is tricky to set up and slow to do.

Another accomplishment over the past 2 weeks has been replacing the motor on my table saw. I started ripping timber to make the gunwales and capping strips for the cockpit coaming and the table saw would only run for a few seconds before it tripped the circuit breaker. I thought it would be easy! 2HP motor is a common size and would be available off the shelf. Took the old motor to a shop and found that it might be easy to fix (good) and that they didn't have a replacement motor in stock (bad). It turned out that the old motor was dead and the new one took a week to arrive! Of course the holes in the new motor's feet were in different places to those in the old motor, sigh!


Much nicer than the old motor. Maybe I should buy a new V belt - the old one is looking a bit tatty!


Sunday, 1 January 2017

Steering Wheel

I've been making the steering wheel. This has fitted in well around the Christmas interruptions and my lathe, drill press and CNC mill are in a cooler workshop - it is very hot here at the moment!

I want a wheel with a ring and spokes with handles - see the mockup in the previous post. I had already made the hub and its aluminium bush. This is visible in the left hand photo below. There is a slot through one end of the bush with a pin through the axle to stop it turning. Also in this photo are the pieces of the ring temporarily assembled with their loose tenons. The six segments of the ring were cut out on my small CNC mill; they are oversize to provide for the eventual clean up. They had to be flat on the outside with square corner so they could be stood on edge in a jig while the slots for the loose tenons were milled. The right hand photo shows the sticky mess after gluing all the pieces together.

With the glue set I roughly cut the outside to shape and trimmed off the excess of the tenons. On the lathe the ring was held on the outside of the chuck jaws while the outside was carefully finished to size and one flat side faced off. Then a "jam chuck" was turned in a piece of scrap timber; this has a recess turned in the face which is a tight fit on the outside of the ring. With the ring hammered into the recess the inside and the other flat face can be turned to size. The LH photo below shows ring and hub  on the assembly board.

The RH photo below shows the setup for drilling the holes in the hub and ring. These holes have to be accurately drilled or the spokes simply will not fit. The phot shows the hub being drill. It is clamped to the jam chuck used on the lathe which now has a ring of holes in it exactly 60 degrees apart. The jam chuck can rotate on a bolt which holds it to a vertical board on the drill press table. The board also has the same 6 x 60 degree spaced holes. At the 6 o'clock position a drill is locking the rotating chuck to the fixed support while one hole is drilled. Then the chuck is turned by 60 degrees and the next hole drilled. The ring was drilled with it jammed into the chuck.


 The LH photo below shows the wheel assembled with pieces of dowel and no glue. It went togehter very easily - it is far easier to get those holes right than to position and size the photos on this page! I turned 6 handles with a hole the same size as the dowel and then glued the whole wheel together.

Now I am debating whether to stain it or leave it natural.


Friday, 23 December 2016

Stern Tube and Steering

A week or so ago I collected the rudder, the rudder bearings and the stern tube from David O'Shea at Speed Propulsion Pty Ltd. David has been very helpful with advice and has done a good job on the parts he supplied. Here is the rudder. He will make up the propeller shaft when I have found a propeller and I am working on this as I write.


I'm debating whether to fix some plywood to the flat steel place and give the rudder and aerofoil section. At low speeds this probably won't make much difference but it might look nicer. Either way I will paint it to match the hull.

The stern tube was put through the oversize hole in the skeg and keel and lined up carefully using temporary supports for a straight steel bar through the tube. With the tube in place the space between it and the woodwork at both ends was packed with thickened epoxy. When this had set unthickened epoxy was poured into the rest of the space around the tube through a funnel until it come up through a riser hole at the highest point of the space.


The plan is to use wheel steering with the wheel mounted at the forward end of the cockpit in front of the coaming. I've been making up the parts for this and the arrangement is shown below.


There is a brass axle through nylon bushes in the deck framework. The wheel is at one end and a steering drum is under the foredeck. The steering lines will pass through turning blocks (under the deck shelf) and run under the side decks to a quadrant on the rudder shaft.


The black wheel is just a profile cut from a piece of scrap ply so help me gauge the size of the final wheel. I think the handles need to be slightly longer.

The newspaper was to catch any drips of the walnut wood stain as I applied it to the coaming. There will be a capping strip along the top of the coaming and laminating this will be a challenge!


Cockpit Coaming

Someone mentioned that it is Christmas Day tomorrow - I thought I had noticed some frenzied supermarket shopping and a fat guy with a red outfit! So it seems like a good time for a catch up post or even two!

Because the sheer line rises and the coaming needs to be vertical the laminations needed to be quite wide - I worked out that the forward section needed to be 250mm wide. I made up a light mould for this; it only needs to be light because the bending ply easily takes the shape and the mould only has to withstand the clamping forces. Here are some photos of this process.


The first 2 photos are of the forward coaming clamped up and waiting for the epoxy to go off. The 3rd photo is of the aft coaming ; it is surprisingly stiff now that 3 layers of the bending ply are glued together. The coamings are 15mm thick.

Next step was to glue both coamings in place. A bit tricky holding them in place while clamps were applied. The spring clamps are hold some pieces of scrap timber that sit on the deck to keep the coaming at the right height. The F clamps hold the coaming in place until the glue sets.


With fore and aft coamings in place the 3 laminations of the side sections were laminated in situ. There is a butt joint in each lamination at the end of the side sections and these butt joints are staggered by about 50mm. I didn't like the white timber in the bending ply so I stained the fore and aft sections before I fitted them in place thinking that it would be easier to do the inside face of the coaming below the deck while it was exposed. That was true but.....


With the coaming in place I trimmed to top and bottom edges to follow the sheer line. Then I discovered that I could not match up the stain across the joints in the sections of coaming and also that I didn't really like the cedar colour I had used because it was too red. So it all got sanded off and some darker walnut stain applied.

Friday, 25 November 2016

Deck Framing

After the primer and undercoats went on the inside of the hull I started on the framework rhat supports the fore and aft decks. The framework is has a camber across the boat (6mm in 300mm) and follows the sheerline in the fore and aft direction.  Here is a photo of the aft deck.


In the above the top of the framework is all straight: The part with the curve rises in the centre to the high point of the camber, the rest of the pieces are higher than the curved line of the camber and sheer. In the following photos the curved part has been built up by glueing scrap ply on top of it. All of the framework was then faired with a hand plane to provide the camber.


The square hole in the middle of the deck will be a round hole providing access to the steering quadrant. There isn't much room under the deck so the hole needs to be big enough to insert and remove the quadrant from above. The circular coaming is laminated from 2 layers of 5mm thick bending ply.

Bending ply has 2 thick outer veneers and a very thing inner veneer. I don't think the glue is completely waterproof so I will coat the coaming in epoxy.

There will have to be a removable hatch cover and I am still wondering how to make this!


This last photo shows the 6mm ply sub-deck roughly cut to shape and pinned in place temporarily. I took the photo and then took the panels off again! Suddenly the boat looks almost complete but there is a long way to go yet.


I will finish the woodwork under the edges of the opening and then complete the painting of the inside of the boat (including the underside of the ply sub-deck) before I glue the sub-deck in place. Much easier than crawling into the small spaces at the ends of the boat.


Monday, 17 October 2016

No More Sanding!

I will probably have to eat the words in the title of this post! All the fillets are in the corners inside the hull. All the fillets have been sanded (actually the surfaces next the fillets have been cleaned up) and the inside of the hull has 2 coats of epoxy.


Next will be primer and undercoat so that at long last the inside of the hull will be a uniform colour. There might even be some finish coats in front of the forward bulkhead while it is still relatively easy to get at.

I have been doing a lot of sorting out of stuff that is simply taking up space, stuff that has been kept because "it might come in useful one day". Two large steel cabinets have moved out of my boat workshop leaving me more useful space. Moving them also gave me access to a corner that hasn't seen the light of day for more than 5 years. Look what I found.


Behind one of the cabinets there was a rat's nest with a long dead resident. At least he/she wasn't preparing to leave the sinking ship before it is even launched!


I had forgotten about this - it has been a long time hiding in the corner. About 10 years ago I was going to build a model steam launch (before I started building large boats and before I moved to Brisbane) and Paul Gartside kindly provided a lines drawing of one of his steam launches. I digitised the lines and then used my small CNC milling machine to make this plug. It's 1 metre long and bears an uncanny resemblance to the bigger version of the Paul Gartside launch that is the subject of this blog. Maybe I will finish the job, cold moulded with some veneer over this plug! Perhaps I should finish the big one first!

Saturday, 8 October 2016

Inside Hull Ready To Paint - Well Almost!

This is a status report because 3 weeks have passed since the last post. I've been busy doing other things and there has been little boatbuilding. My aim has been to put in all the fixed woodwork inside the hull and to bring it to a state where I can apply 2 or 3 coats of epoxy and some paint. I wanted to do the finishing work before adding the deck and supporting woodwork, that is to do as much of the painting etc while the inside of the hull is easy to access.

I managed to put in a few hours yesterday and glued in the last two floors. I also shaped the side supports for the forward bulkhead and while doing that realised that I could not glue them in place until the deck beam above the bulkhead was also glued in. So I glued in the deck beam first and then the side supports. Here are a couple of photos showing the floors and bulkhead supports.


In the next photo you can see the "engine" bearers between the last 2 floors and also the steering quadrant on the temporary  (broomstick) rudder shaft.


Here's a close up of the homemade quadrant; laminated plywood with an aluminium bush. The two holes about halfway along the straight sides are where the ends of the steering line will come through to be clamped.


The next photo shows the two aft floors with the engine bearers fitted loosely. When the final drive arrangements are sorted out the bearers will be glued in place. The temporary propellor shaft is in place held in alignment by a couple of wooden bushes in the stern tube hole. The tapered pads on both sides of these floors are where the thrust bearings for the the propellor shaft will be bolted.


I've made a temporary bracket out of scrap plywood to get a feel for how the electric motor will be mounted. The motor runs at too high a speed (about 4000 RPM max) for direct drive and so will need to be geared down. My plan is to do this with a belt drive; small pulley on motor shaft and larger pulley on prop shaft to get down to about 1000 RPM at the prop. The white tin is about the size of the 3kW motor I plan to use. The motor is aprox 180mm diameter and 100mm thick - not very big!


Here is an overhead view, the big pulley (more scrap timber!) is 170mm diameter. When I sort out the final details of the belt drive the height of the motor bracket may be reduced.